Blue Hawaiian Anniversary Quilt
Hello friends! Happy New Year!
As Lauren mentioned in her last post, our parents celebrated their 40th anniversary in December. I would post a picture of them here, but Dad is too camera shy. You’ll have to settle for pictures of the anniversary quilt I made for them. It occurred to me about a year and a half ago that while I had made quilts for Lauren and many other family and friends, I’d never made one for the people who raised me, loved me, supported all my aspirations, and bought me my sewing machine!
It was time to remedy that. I thought long and hard about what kind of quilt would be meaningful and what kind of design would compliment their tastes. I settled on a Hawaiian quilt because Mom and Dad honeymooned in Hawaii, and we’ve had several memorable family vacations there. Also, Hawaiian quilts usually consist of only two fabric colors, which I thought would suit the somewhat minimalistic design tendencies of their home. The majority of their walls are white, so I chose white for the background, with navy blue for the quilting design and binding.
Next it was time to pick a pattern. I selected Holiday Heleconia by Poakalani Hawaiian Quilt Patterns. The pattern comes with detailed instructions. The basics are that you first trace the pattern onto freezer paper.
Next, you carefully fold your fabric into eighths, much like making a paper snowflake. The pattern is wedge-shaped, as is your fabric when folded correctly. The pattern is then traced on to the top layer of your fabric wedge, and then you carefully cut the pattern out through all the layers at once.
Next, you unfold your fabric and carefully lay it out and pin it to your background fabric.
Then you thread baste all the way around. At this point you can remove your pins, hooray! Then, you needle-turn applique the edges using your thread baste lines as your guides.
This wasn’t my first trip to the applique rodeo, but it still took a good long while (read: months of intermittent applique) to finish. It was incredibly satisfying to pull out all of the basting threads when I finished! My celebration was short-lived though, because this was the point where the REAL work began. Hawaiian quilts are traditionally hand-quilted. Hand-quilting was the part of this quilt that made me nervous. Last summer, in preparation for this quilt, I learned how to hand-quilt with chunky perle cotton on my Ample Curves quilt. I gained a bit of experience and confidence from doing so, but I was still a hand quilting newbie when I started quilting the Blue Hawaiian. I had to accept that it wouldn’t be perfect, and that I had to start somewhere to get better. So, I spray basted the batting and the backing to my appliqued quilt top, and got to work. Here's a shot of the back of the quilt while I was in the middle of the hand-quilting.
After completing this quilt, I don’t think I can get away with claiming I am a hand quilting beginner anymore, but I have a long way to go before I can squeeze 12 stitches into each inch like the amazing Amish quilters!
Luckily, if anyone will love your big sloppy stitches, it’s your parents. I finished Blue Hawaiian on their anniversary, and gave it to them on Christmas Eve. It felt really good to surprise them with a quilt. There’s a lot of things I’d do differently if I made another Hawaiian quilt but I’m happy with the overall effect.
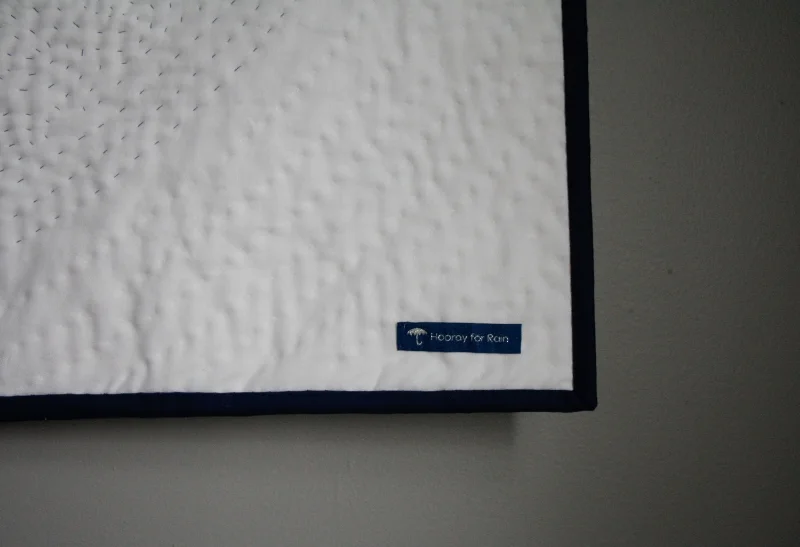
Here's a shot of the back of the quilt.
Blue Hawaiian is hanging proudly on my parents’ wall, and I am happy to be diving into new projects!


