Cyanotype Sun Prints
Blue has been my favorite color for years and years. I love every shade – pale blue, deep sea blue, and everything in between. At least half of my fabric stash is blue. Naturally, I could not RESIST cyanotype prints, more commonly known today as sun prints, when I first discovered them in an art supply store.
Cyanotype is a photography process that was discovered in the 1800’s. Cyanotype paper is made light sensitive with potassium ferricyanide and ferric ammonium citrate. Some people treat paper or fabric themselves with the chemicals. As a beginner, I happily bought a kit at the art store.
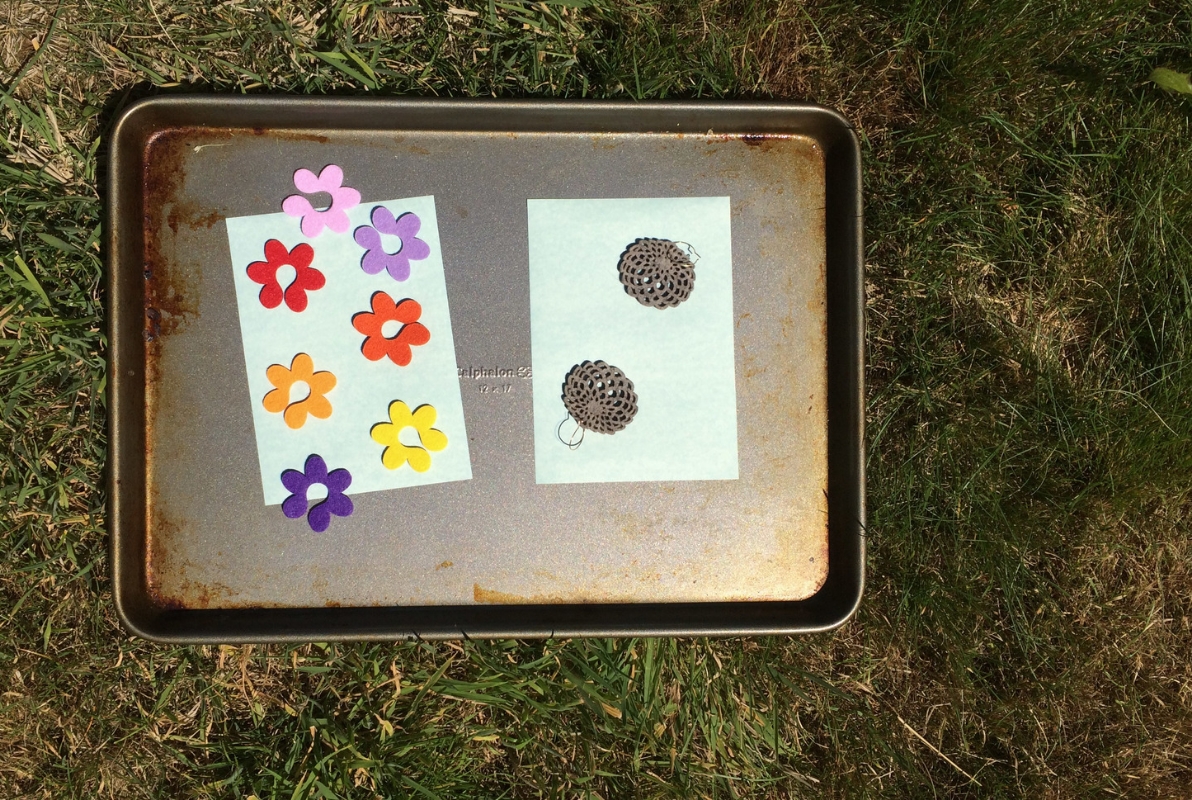
Before you start, you’ll want to gather your objects to place on the light sensitive paper. Pick interesting objects with strong silhouettes. Leaves and flowers work well, but you may find other objects around the house with interesting shapes. I grabbed some laser cut felt dahlia earrings and some felt flower wine glass markers, and both worked well.
Because the paper is light sensitive, you must take the sun print paper out of the envelope inside or in minimal indirect natural light. The paper is medium blue. Arrange your objects on one or two of the sheets, and put them outside in direct sunlight. I arranged my paper and objects on a cookie sheet for ease of transporting into the direct light.
Leave your sun prints and objects in direct sunlight for about one minute. The exposed parts of the paper will fade to a very pale blue, which is how you know they are done.
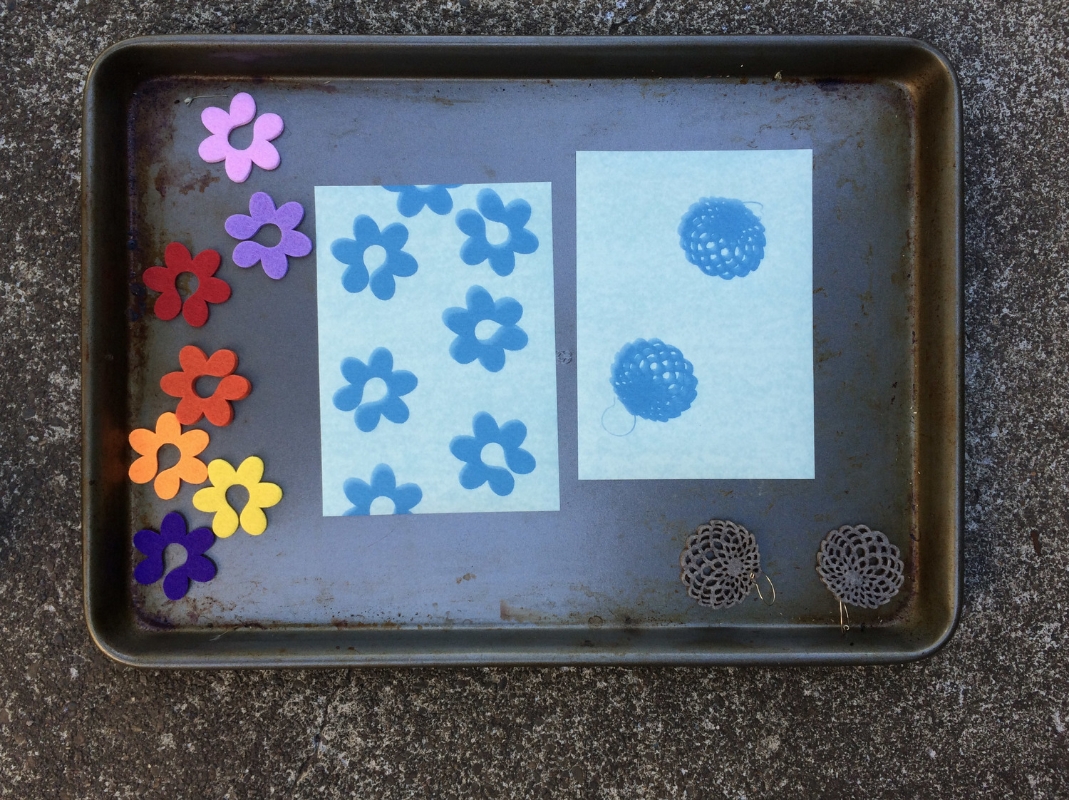
When you remove the objects, there will be medium blue shadows where the objects were.
Rinse the paper in water. I used a second rimmed cookie sheet with water in it. Once rinsed in water, the exposed areas will turn blue again, and the areas shadowed by your objects will turn white. It’s a neat effect.
Place your finished sun prints somewhere flat to dry. I placed rocks on mine to keep them from blowing around. The blue areas will begin to darken immediately. Once your sun prints have dried, place them under a heavy book overnight to flatten. They will continue to deepen in contrast overnight. Such a pretty deep blue!
Consider your objects and whether they would look better exposed to sunlight directly overhead, or angled sunlight, which could create shadows depending on the shapes of your objects.
Here is a sun print that was exposed in mid-day sunlight. I love the effect of my quilting ruler layered over the fern.
This one, done in late afternoon sunlight with poppies, turned out pretty cool too. You can see the shadows cast by the poppy petals in a lighter blue above the white flower silhouettes.
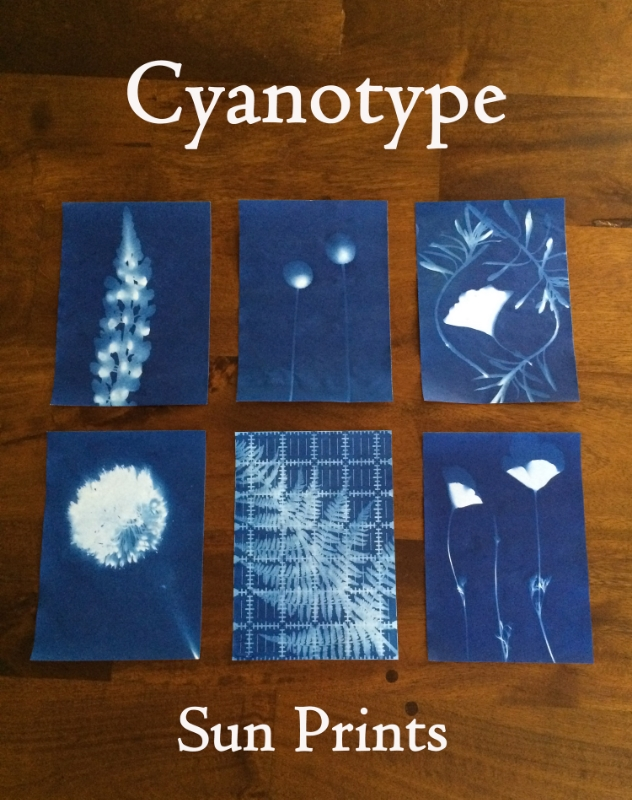
Here’s a collection of a few of my favorites. Clockwise from the top left, they are:
1) lupine
2) billy buttons
3) ginkgo (center) and candytuft leaves (outer)
4) California poppies
5) fern and quilting ruler and
6) leek allium
I had a great first experience with cyanotype, and I’d recommend the craft for kids and adults alike!
Now I can’t stop thinking about cyanotype fabric…


