Birthday Greetings

I adore any opportunity to send or receive any kind of snail mail, especially birthday mail. My mother is the Martha Stewart of remembering and recognizing birthdays, and I'm trying to follow closely in her footsteps. I've been getting tired of the birthday card options at my favorite card stores, and wanted to do something different. My good friend Kelsey celebrated her birthday at the end of July, and I decided to mail her this cheery birthday sign, again inspired by The Paper Mama.

I started with an array of patterned paper, and punched 2 inch circles for my sign.

birthday16.jpg
birthday9.jpg

I used stick-on scrapbook letters to speed up the process.

Recently I ordered a 5 lb package of multicolored pom-poms and have been trying to find ways to utilize them. I've seen a variety of these adorable ice cream cones on Pinterest, and thought they would dress up my sign.

I started with one of my favorite craft supplies -- a toilet paper tube. I unrolled it, and punched a 2 inch circle from it.

I cut the circle into uneven quarters, and rolled and hot glued them to make the cones.

Next, I hot-glued my pom-poms onto the cone to make a double scoop. I used the ice cream cones as spacers between the words. I punched each circle at the top, and threaded the sign with blue baker's twine. I folded the sign into an accordion, put it in a small box, and mailed it off to hopefully, brighten her day!

Cocktail Cherries Three Ways

Hooray for Rain - Cocktail Cherries Three Ways

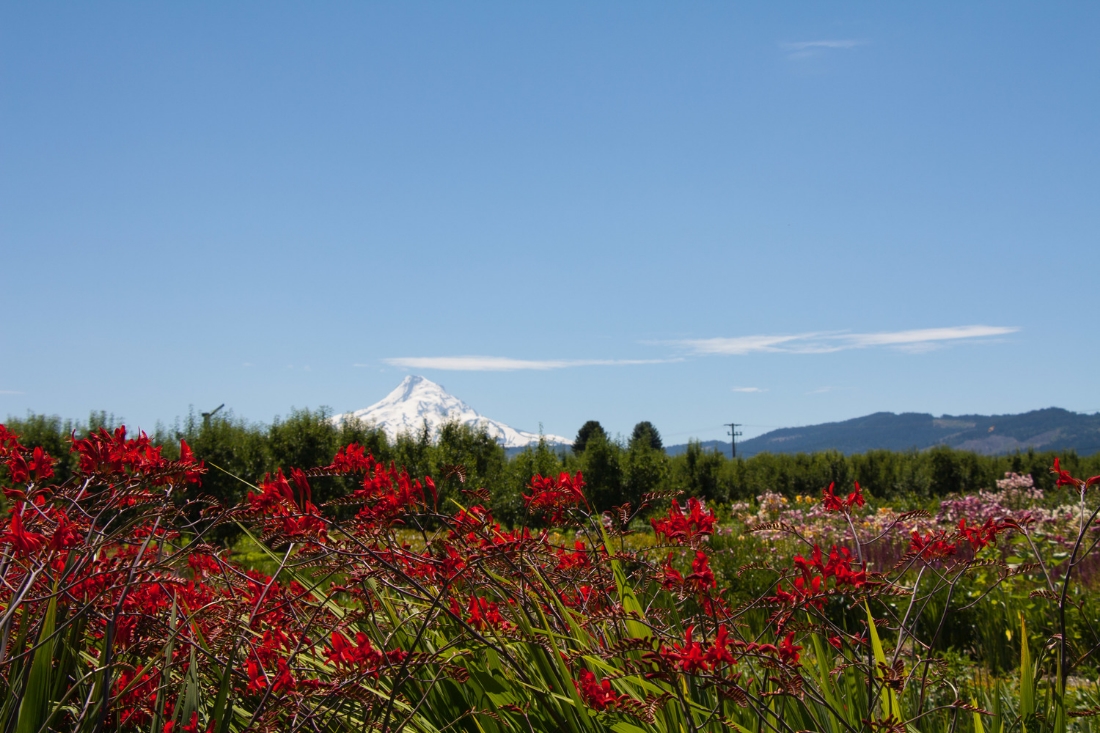
Hi friends! Remember when I went to Hood River and brought back a bunch of delicious Lapin cherries? A few days later I invited my friends Anna, Grayce, and Sara over to make cocktail cherries. I have always loved a good cocktail (or mocktail) cherry. As a kid, I loved having a Shirley Temple at special occasion dinners. As an adult, my tastes have evolved, at least a little bit, and now I adore Toschi’s Amarena cherries.

My friends and I branched out and made three types of cocktail cherries: maraschino, bourbon vanilla, and brandied. It was so much fun! Anna went on a cherry picking adventure of her own and brought over several pounds of sour cherries. Pitting cherries is kind of a pain, so I highly recommend inviting several fun friends to help you. My friends were cherry pitting champs!

Maraschino Cherries

First, the Maraschino cherries. We roughly followed the recipe of Amy Stewart, aka the Drunken Botanist, with a few slight modifications based on Sara’s previous experiences in making Maraschinos.

Maraschino cherries are traditionally made with sour cherries.

Ingredients:

Pitted sour cherries

Maraschino liqueur

Lemon peel

Put a large saucepan on the stove and cover the bottom of the saucepan with sour cherries. Cover the cherries with maraschino liqueur. Bring the cherries and liqueur just to a boil, and then pour into jars. Make sure that all of your cherries are covered in liqueur.

We made a second batch and added 5 large pieces of lemon rind before bringing to a boil.

The verdict: Not surprisingly, these cherries were the most sour. The batch with lemon peel tasted slightly sweeter. Sara reports that they are delicious in an Aviation cocktail.

Bourbon Vanilla Cherries

We couldn’t find a recipe for bourbon vanilla cherries, so we made our own!

Ingredients:

Pitted sweet cherries

Sugar

Water

Bourbon

Vanilla extract

Fill your jars with the cherries. Put two cups of sugar and ½ cup of water in your saucepan, and cook over medium heat until the sugar dissolves. Add ½ - ¾ cup of bourbon, and 2 tablespoons of vanilla extract. Cook until bubbling, and then pour over cherries into jars.

The verdict: These cherries turned out delicious, but also very sweet. I was hoping that the syrup would be a bit thicker, as it is for the Toschi Amarena cherries, but I did not want to cook off all of the bourbon. Next time I make them, I  will cook the sugar/water/bourbon/vanilla mixture longer after adding ¼ - ½ cup of bourbon. Some of the alcohol will burn off, but I would imagine you can achieve a thick syrupy consistency, and a bit more bourbon can always be added right before jarring the cherries. But they were still delicious as-is!

Brandied Cherries

We used Holly & Flora’s lovely brandied summer cherries recipe as our inspiration.  

Ingredients:

Pitted sweet cherries

Sugar

Brandy

Amaro aperitif liqueur

Orange liqueur

Cinnamon stick

Whole cloves

5-6 large pieces of orange peel

Fill your jars with pitted cherries. Put any juices left over from pitting your cherries in the saucepan. If you do not have much cherry juice, substitute a few tablespoons of water. Add ½ cup of sugar, a cinnamon stick, 3 whole cloves, and 5-6 pieces of orange peel. Cook until the sugar has dissolved. Add ½ cup of brandy, 1/8 cup of Amaro, and 3/8 cup of orange liqueur. Stir until the liquids are combined, then remove the cinnamon stick, cloves, and orange peels from the syrup, and pour the syrup over the cherries into the jars.

The verdict: This batch turned out great! These cherries taste balanced and complex, and are definitely the most deserving of being dropped into a Manhattan.

Final Thoughts

I managed to hold off for a couple of days before tasting the cherries, in order to give the flavors time to marry. Overall, I am very happy with the results of our cherry experiments. Anna was already inspired to make two more batches of sour cherries, one in heavy syrup, and the other in sugar and rye whiskey. YUM!

Cherry season is starting to wind down in the Northwest, so grab some cherries soon if you want to make your own cocktail cherries in 2014!

Hooray for Rain - diy cocktail cherries


Summer Escapes

July has been full of pleasant summer evenings, adventurous weekend getaways, and piping hot weather for this part of the country. Busy with work, I've been taking full advantage of any second to soak up the sunshine, and smell the sweet summer air.  In lieu of a project, here are four places, some old and some new, that have delighted and inspired me this season.

1) Pike Place Market, Seattle

I've grown up going here. It's one of my favorite places in the whole world. On a cold and drizzling winter morning, the place is practically abandoned, and you can lazily drift from stand to stand. In the summer, it's packed with tourists, especially from cruise ships. You become one with the crowd, like a school of fish, as you travel the serpentine path of vendors. I love it either way.

This happened to be a perfect Sunday morning when the skies were crystal clear, and Puget Sound was calm and glassy with the ferries gracefully floating by.  As I walked down the hill, the smell of fresh baked croissants, from the french bakery across the street, wafted through the air. The stands were overflowing with fresh summer produce at its absolute peak, fragrant sweet peas and vibrant floral arrangements in every color imaginable, as well as elaborate and artistic showcases of seafood. Sandwiched between the vendors, with every sense heightened, this is home to me.

2) The Lake

Summer isn't summer without dipping my toes in the warm, fresh water. I've spent every Fourth of July that I can remember here, and it never disappoints. From swimming across after a long day of work to enjoying a delicious summer salad on the deck, it's tranquil and refreshing. There is nothing better than watching fireworks sparkle across the shore with the moon shining above.

3) Copalis Beach, Washington

Two weeks ago, I took my spirited 2 year old Golden Retriever Lizzy to Copalis Beach, on the Washington Coast, for swimming and tennis ball wrangling. She's a water addict, and couldn't get enough of  jumping through the waves after a toy, or romping across the sand after a ball. The beach was practically deserted, and the waves inviting. Watching her gleefully zig zag across the sandy stretch brought a big grin to my face.

beach 1.jpg

4) Walla Walla, Washington

Last weekend I adventured across the state to my friend Haley's wedding in Walla Walla (Eastern Washington). It's about a five hour drive through rolling hills, tumbleweeds, and vast expanses of farmland. Walla Walla is full of gorgeous wineries and quaint shops. The wedding was held at Mill Creek Gardens -- a picturesque outdoor venue with big grassy fields, arbors with cascading white lights, and a lazy creek that trickles down the back of the property. The meal was a delicious pairing of seasonal produce and the best local wines.

These pictures are courtesy of my fabulous travel buddy and friend Amanda, who was nice enough to snap a few shots as I drove. They truly capture the varying terrain and impressive views of the other side of the state.

walla walla 4.jpg

Hooray for summer in the Pacific Northwest!

The Ample Curves Quilt

Hooray for Rain - The Ample Curves Quilt

Earlier this month Patrick (the husband) and I had an Oregon must-do experience. We drove the Hood River Fruit Loop for the first time, but definitely not the last!

Hood River is a super cute small town about an hour east of Portland. It’s one of my favorite escapes from the city, with an unbelievably scenic drive right along the Columbia River Gorge, past waterfalls and kite surfers. We stopped for lunch in Hood River, and then drove the 35-ish mile loop of wineries, farms and farm stands. It was a gorgeous day in the upper 80’s, and the fruit stands were so very tempting! I got to try cherry varietals I’d never even heard of before, and fell in love with the ones called Lapins. I brought home cherries, apricots and blueberries. I can’t wait to go back in the fall for apples and pears.

It just so happened that I finished my first scallop quilt the morning of our day trip. I cut it out with an Accuquilt Drunkard's Path template and pieced it a few months ago, hand quilted it while watching TV, and just finished binding it. As I’ve mentioned previously, I’ve been having a lot of fun sewing curves, and the curves of this quilt were the gateway to my obsession.

Hooay For Rain - Ample Curves Quilt

This quilt was a trio of firsts: first curved pieces, first hand quilting project, and first curved corners! I was really nervous to cut the curved corners (eek, what if it doesn’t work right?! You can’t put the corners back on!!) All of the worry was for nothing, because it turned out to be easy-breezy. I really love the way it looks, especially with the stripey bias binding. The backing and binding are from the lovely Ann Kelle’s Remix collection. All inspiration for the backing and binding choices goes to Nettie of A Quilt is Nice.

Hooray for Rain - Ample Curves Quilt

I’ve named it the Ample Curves quilt, hee hee. I brought Ample Curves along on our day trip for a little photo shoot. Patrick was kind enough to take most of these pictures while I held it up.

Our first photo stop was at Panorama Point, just down the road from one of the farms where we bought cherries. It turns out there aren’t any bad views from the Fruit Loop, but this one was particularly good.

Hooray for Rain - Ample Curves Quilt

Next stop was The Gorge White House, which is an amazing farm with u-pick fruit and flowers, wine, beer, and cider tasting, and delicious smelling food. The scent of bacon was wafting through the air! These people clearly know what they are doing. I bought blueberries and a few gifts here.

Hooray for Rain - The Gorge White House

Their flower fields were gorgeous, especially against the backdrop of Mt. Hood.

Hooray for Rain - Crocosmia at the Gorge White House.jpg
Hooray for Rain - flower fields at The Gorge White House
Hooray for Rain - echinacea at The Gorge White House

Our final fruit stop was Rasmussen Farms, where we bought more cherries and some delicious apricots. I couldn’t resist taking a quilty picture next to their daisies.

Hooray for Rain - Ample Curves with Daisies

The little town of Parkdale is at the south end of the loop. Mt. Hood hovers over the town and surrounding fields. Soooo pretty.

Hooray for Rain - Ample Curves Quilt and Mt. hood

Ample Curves was my second quilt made from one stack of Kona cotton. The first was one of the two quilts I made for twins back in February. I have one more quilt planned from the same stack.

In my next post I’ll tell you what I did with all the cherries!

Bridal Shower in a Box

Boy is it wedding season. I've had a handful of college friends tying the knot this summer, and I haven't been able to attend all of the grand festivities. To honor one of my dear friends, I compiled the bridal shower essentials, and a fun surprise, and mailed the goodies off to arrive a few days before her shower.

Her wedding invitation was a gorgeous combination of melon and sky blue, and I used these colors as inspiration for the hand-made portion of the box. I adore the signs by The Paper Mama, and wanted to make my own version that my friend could use as a decoration at her shower. Here is the finished product.

I chose to make my letter squares 3.5 inches by 3.5 inches because the box meant to hold the sign was 4 x 4 inches. I cut out 11 squares in the sky blue paper and set them aside.

Next, I spelled out the letters in a word document, and experimented with the font size to fit them to the blue squares. Then I cut out the black letter outline and traced them onto the melon colored paper. Having stencils would work well, and save time.

Once the letters were cut out of the melon paper, I attached them to the blue squares with a glue stick. For the ampersand, I chose to use an X-Acto knife rather than scissors. I also used the melon-colored paper to make two large hearts for the beginning and end of the sign. I used a mini hole punch in the upper right and left corners of each square, and threaded blue and white striped baking twine.

sign half done.jpg

Finally, I attached the hearts to the edges of the twine with scotch tape.

I secured the completed sign in a box, taping the first heart to the box top, so the sign could be easily removed without becoming tangled.

sign in box.jpg

I also chose to include a gift card to one of her registry sites, a set of thank you notes, nail polish, and a mini emergency kit with mints, deodorant, a first aid kit, and a few travel size medications.

I wrapped everything in tissue the same color as her invitation, and sent it off with a note on the box to open before the shower.

It was fun to make, and a nice way to celebrate with her from afar!