Valentines? Schmalentines!

Valentine's Day is really not my favorite holiday, and it all started in third grade.  Every year in elementary school, I worked tirelessly on my valentine bag constructed from a paper lunch sack, construction paper, glitter, and copious amounts of Elmer's glue. That year I was particularly proud of my creation, and couldn't wait for our class valentine exchange and the opportunity to finally open up my cards and treats. We distributed our notes during lunch, and then had our class party planned for right after recess.

I still vividly remember walking into the classroom after recess. Multiple kids instantly ran up to inform me that Andrew, a boy in my class who was overly friendly with the girls, had ripped and completely destroyed my mail sack trying to place a gigantic heart-shaped box of chocolates, especially for me, discretely in my sack. Please remember that this was still one of those years when boys had MAJOR cooties. Red as a tomato, I returned quietly to my desk trying to avoid my not-so-secret admirer. The icing on the cake, was that when I went back to my table, Shane, the other very annoying kid in my class, notorious for aggressive games of footsie, threw a gold bracelet on my desk and said, "Here! I stole this from my mom's dresser."  I politely informed him that he should give it back to her, and I couldn't accept stolen presents. I was 0 for 2. That afternoon I stuffed the box of chocolates deep under my bed and never told a soul. Days later, Jen and my mom discovered the box and teased the living daylights out of me, though they completely deny it now. I'm still traumatized, and avoid heart shaped boxes at all costs.

Needless to say, I've enjoyed finding ways to celebrate Valentine's Day with a slightly non-traditional spin. One of my favorite Valentine's Day adventures from college was spent with my friend Hillary and involved skipping a mandatory meeting, going to a slasher movie, and conquering a really big bucket of popcorn.

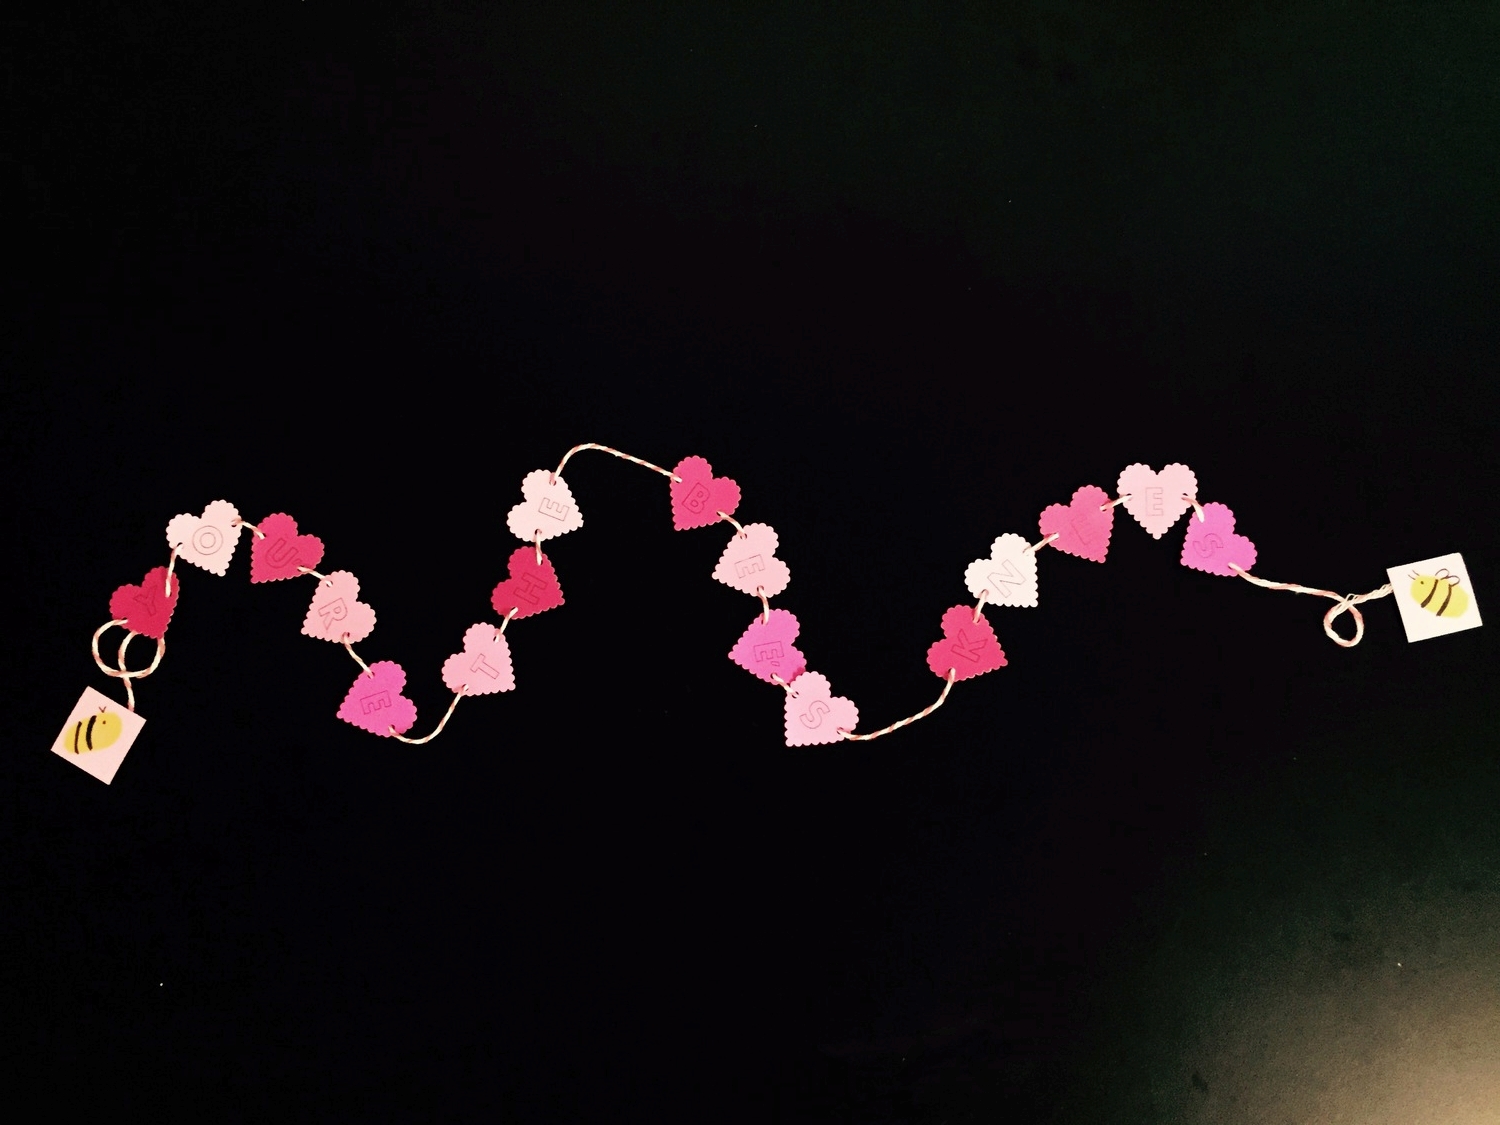
This year, Jen sent me the details on Aunt Peaches' 2015 Valentine Swap and I thought it would be the perfect way to celebrate this overrated holiday! You're given three names and addresses of complete strangers, and have about four days to make hand-made valentines for your assigned swap recipients. Last year over 500 people participated from all over the world. I decided to make three "You're the Bee's Knees" banners.

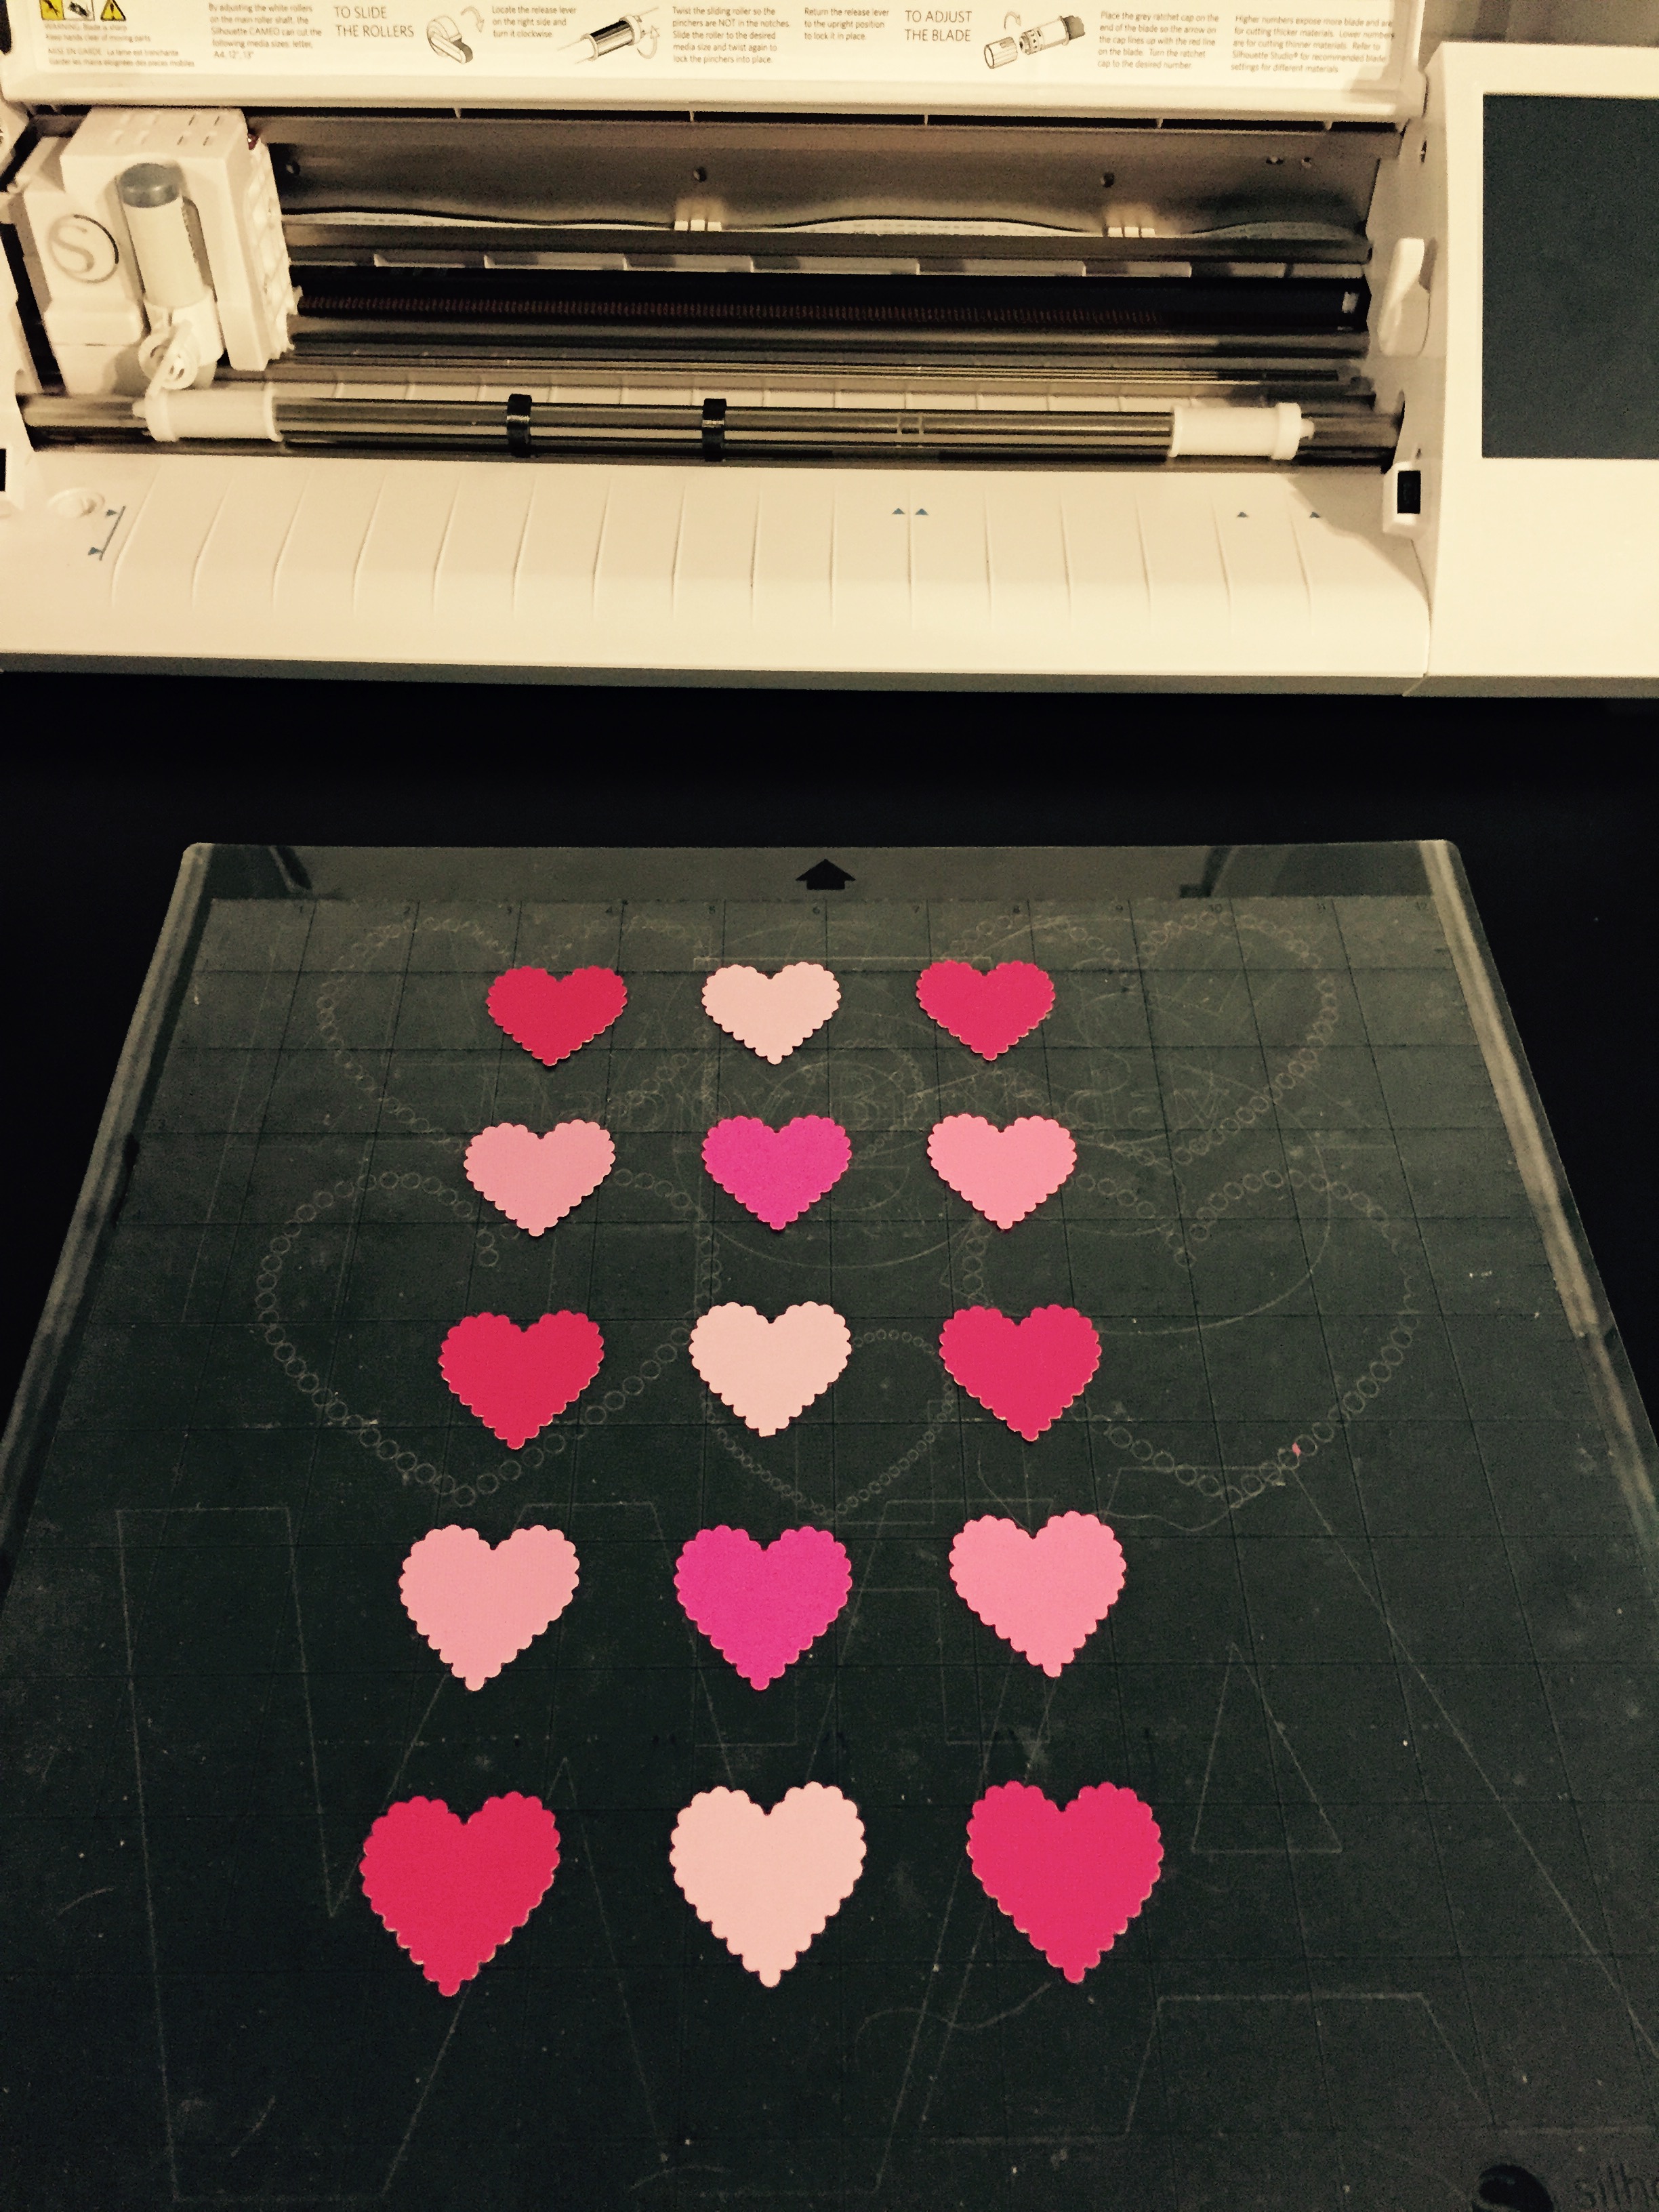
I cut out my hearts with my heart punch, then used my Silhouette Cameo to print the lettering.

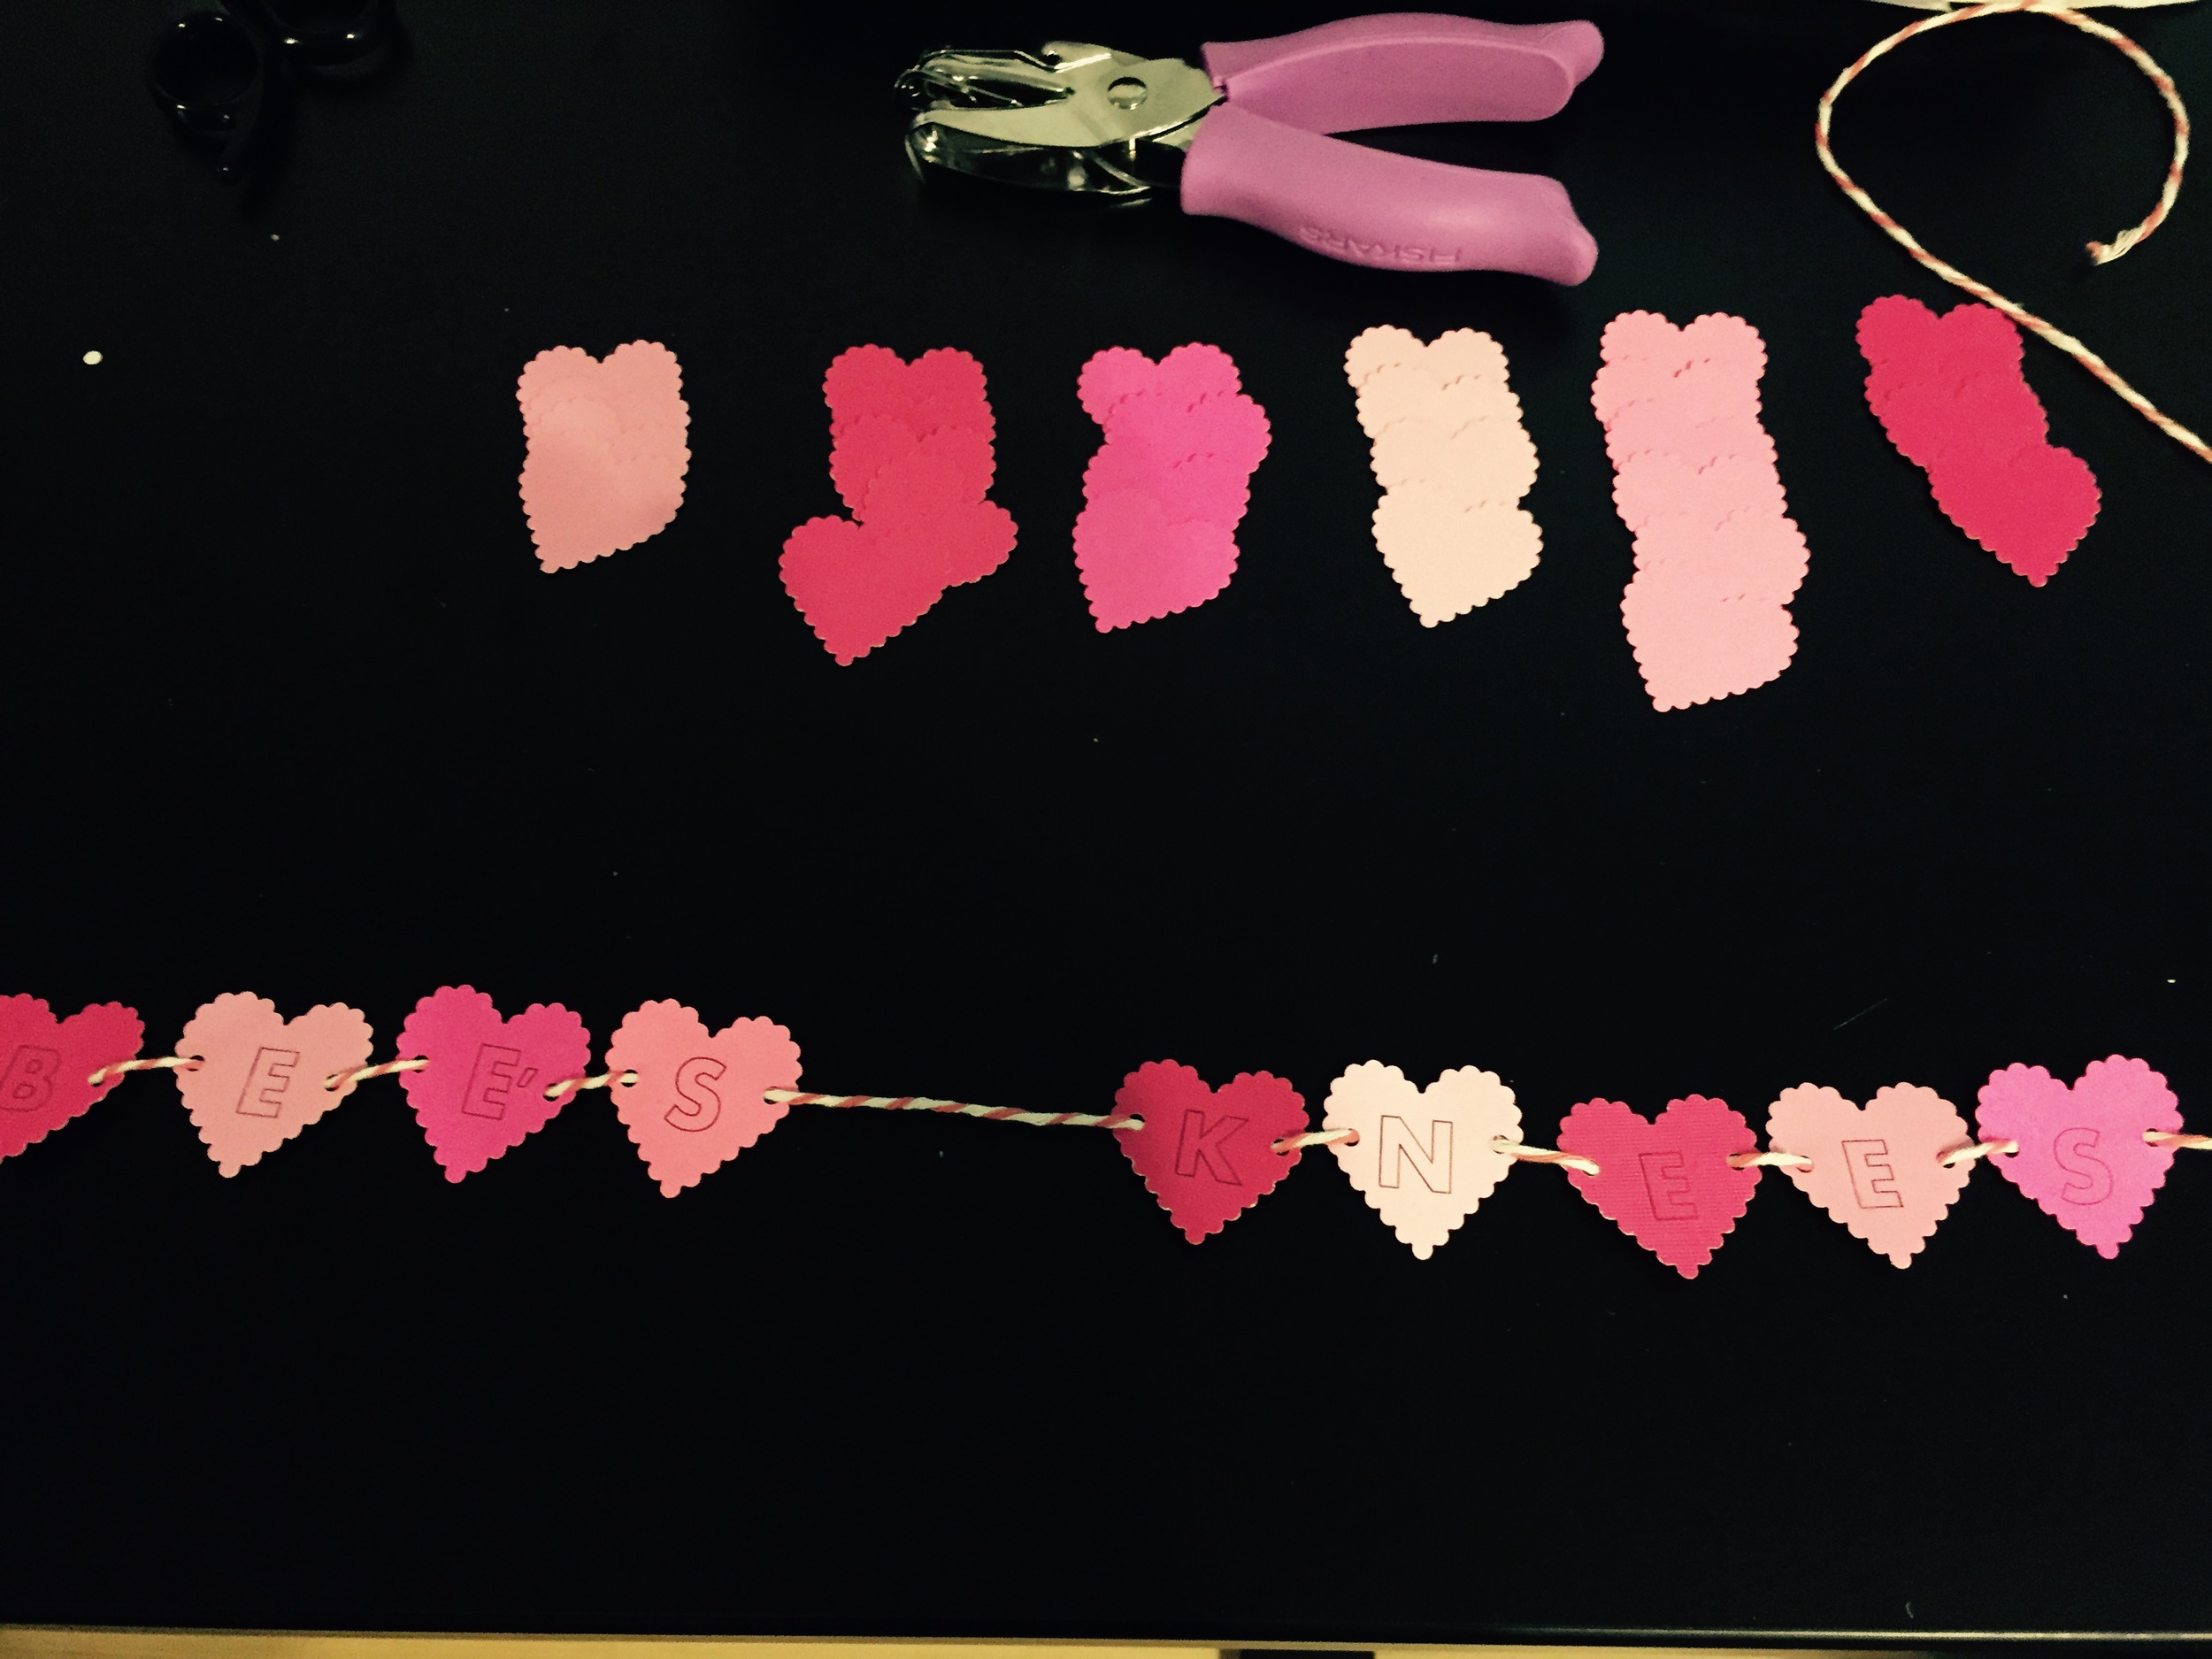
I used my 1/8 inch circle punch and pink baker's twine to string the banner.

I also made thumbprint bees for ends of the banner.

I wrapped the banner around a handwritten note, and enclosed a family recipe for Red Velvet Cake.

My assigned Valentine Swap recipients are from Portland, Oregon, South Carolina, and Florida.

I can't wait to see where my valentines arrive from this week!

Ringing in the New Year

Can you believe it's almost 2015!? I'm really looking forward to having a shiny new year with unlimited opportunities and adventures.

New Year's Eve is all about sparkle. I've found some really beautiful Washi tape on my recent craft store shopping trips, and fell in love with this graphic and shimmery pattern. It inspired me to make a banner to ring in the new year.

Supplies: Glittery Baker's twine, Washi tape, sticker letters, and a 1 inch ruffled punch

Just like everyone else, I was busy this holiday season baking, wrapping, and also had an extra few projects working with Jen on festivities for our parents' 4oth Anniversary.  I didn't get to making and sending Christmas cards like I had hoped. I was contemplating a number of labor-intensive designs for New Year's greetings, when Jen surprised me with a Silhouette Cameo for Christmas. It will cut out any shape from vinyl, paper, or canvas, and draw shapes or letters with every color you could dream of. This amazing piece of equipment will make my life so much easier in 2015 and seems to do just about everything except fly to Mars.  Here are my first few attempts...

Wishing you a joyful and bright 2015! What are you doing New Year's, New Year's Eve?

Fabric Christmas Lights

Last year, I found this fabulous tutorial for Retro Fabric Christmas Lights, and couldn't wait to make my own.  I have no sewing experience or talent, which is why I tend to stick to paper crafts. Jen was gracious and patient enough to help me sew the light bulb outlines.

Once each of the lights was sewn, I used a pair of tweezers to fold them back to right side out since the opening was so small. I used a knitting needle to stuff each light bulb with polyfill, and chose not to hand sew each one shut. Instead, I used the eraser end of the pencil to tuck the fabric edges back inside with the polyfill, and hot glued a small bead to seal the stuffing and fabric edges. Before the glue dried, I attached the wooden spool and baker's twine per Erin's instructions in the tutorial.

I love that the options for these lights are endless with so many colorful fabrics and baker's twine on the market. The lights are perfect for fabric scraps and are cheerful and useful no matter what pattern you choose. I think it's fabulous that they are so kid-friendly and durable, unlike so many Christmas decorations.

I made a light bulb garland with each light tied on to the baker's twine string in a set pattern, but I also made a few with clothespins so the colors and patterns could be switched out. I tied the leftover lights onto my packages as fun decorations, and to be used as ornaments.

lights10.jpg

Happy Holidays!

DIY Holiday Wreath

For as long as I can remember, Thanksgiving weekend festivities have included construction of a holiday wreath for our parents' front door. My Dad would trim back the Evergreen trees before big wind storms, and didn't want to throw away the perfectly useful limbs. A holiday wreath was the perfect solution. My parents also have a gorgeous and fruitful holly bush that contrasts perfectly with the green limbs.

holly bush.jpg

We've done it in the pouring rain, sunshine, by flashlight in the dark, and every which way in between. This year, we had a surprise snow storm that made our annual project extra festive. We usually have holiday music with the volume up high to cheer us through the frightful weather. If you've never made your own, the process is relatively simple and the end result consistent and classy.

What you'll need...

-Wire Wreath Frame (24 inch for a standard door)
-12-14 Evergreen limbs*
-14-18 limbs of Holly*
-Floral wire
-Battery operated lights, if desired
-Another set of hands (if available)

*If you don't have tree limbs or holly readily available in your yard, many local nurserys carry holly. Christmas Tree Lots often trim the lower tree limbs when they are purchased and may have a stash for a discounted price or for free!

Step 1:

Lay your wire ring flat on a workbench.

Start tucking the limbs underneath the wire cross bars. Ensure the limbs are going the same direction.

Unless you have really lush branches, add a second layer of limbs. This layer does not have to be perfect as it's acting as the base and will be covered by the holly.

Have one person gather the limbs while the other winds a continuous piece of floral wire in a spiral motion.

Voila! -- the base layer is finished...

finished greenery.jpg

If you have a few wisps that didn't make it into the wire, don't hesitate to give your wreath a little haircut.

hair cut.jpg

Step 2:

Start tucking pieces of holly in the wire. Make sure to trim the leaves on both ends so you have nice long stems that are easy to poke under the wire and hold the holly in place.

I like to fasten the holly pieces to the wreath so the berries are really close together and give that gorgeous pop of color around the entire wreath.

Wrap another continuous piece of floral wire in a spiral around the layer of holly. Try to place the wire at the start and end of the sections of berries to avoid knocking too many off. 

Step 3:

We found some battery operated lights majorly marked down during the Thanksgiving sale weekend. If you choose to include lights, make sure to put the battery switch at the bottom of your wreath so it's easy to turn on and off. Getting the lights evenly distributed around the wreath is one of the hardest parts and can take several tries. Our very crafty father folds the light string in half and marks the halfway point with a piece of tape before he starts wrapping. This way, as you wrap the strand around the wreath, you have an idea of how much of the strand you should have already used once you reach the half way point.

Finished Products:

We made wreaths of all different sizes this weekend. Here are more of our final creations...

Jen's wreath:

Plain miniature wreath with holly:

Miniature wreath with lights:

Annual family wreath:

We warmed up our frozen fingers and with a cup of hot chocolate, and leftover whipped cream from our pumpkin pie. Yum!

Happy holiday decorating!

Brown Paper Packages and Turkey Thumbprints

I cannot tell you how excited I am that it is almost Thanksgiving. Everyone I run into at the coffee stand or the grocery store has been talking about their search for the ultimate Thanksgiving side dish recipe, and whether they'll be going over the river or through the woods to their annual family gathering. There is definitely a feeling of excitement in the air. The night before Thanksgiving, I always watch Planes, Trains & Automobiles while peeling potatoes. Any year Jen and I are able to be together on Thanksgiving, we get up by 9:00 am to watch every single jaw-dropping, boy band singing, high school marching-band minute of the Macy's Thanksgiving Day Parade. Yes, we are still 5 years old at heart. One year, we're hoping to make it to the parade in person, but one balloon vacation was enough for 2014.

We won't be able to celebrate with my cousins and their kiddos (age 3 and 5) this year, so I wanted to do something special by mail to get them excited for the upcoming holiday festivities. I have a small collection of holiday books given to me by aunts and uncles and grandparents over the years that I've cherished, and wanted to pass on the tradition. I found a few adorable Thanksgiving books, and made my own Thanksgiving wrapping paper with brown craft paper, stamp ink, and my hand.

brown paper packages 3.jpg

Both of these sweet kids are also into crafts. I made up small craft kits with the supplies for two fun projects I found on Pinterest. The first kit was for Leaf Turkeys. We recently had a pretty big wind storm, followed by a freeze, so there weren't any beautiful natural leaves readily available. I chose to go with some fabric leaves and improvised with pipe cleaner legs.

The second craft, meant for the 5 year old, was for Cork Turkey Place Cards.

In my search for turkey crafts, I also saw these adorable thumbprint turkeys on Pinterest and couldn't resist recreating them for my Thanksgiving cards this year.

Jen always recites this to me, and it makes me laugh, so I thought you'd like it too:

"If turkeys thought, they'd run away, a week before Thanksgiving Day, but turkeys can't anticipate, and so there's turkey on my plate." - Jack Prelutsky

Happy Thanksgiving!